Artificial grass wall panels have become an increasingly popular way to instantly upgrade any indoor or outdoor space thanks to their realistic grass-like appearance and ultra-low maintenance.
However, while installing these panels may seem straightforward, properly preparing the surface and carefully mapping out panel placement is key for seamless, beautiful results.
This comprehensive guide will walk you through the entire process, from choosing the right artificial grass panels to trimming the material once affixed.
Follow these tips and step-by-step instructions to DIY a stunning grass wall that transforms your space.
Getting Prepared: Choosing Grass Wall Panels and Gathering Materials
Key Factors to Consider When Selecting Artificial Grass Wall Panels
There are a few important considerations when deciding which artificial grass wall panels to purchase:
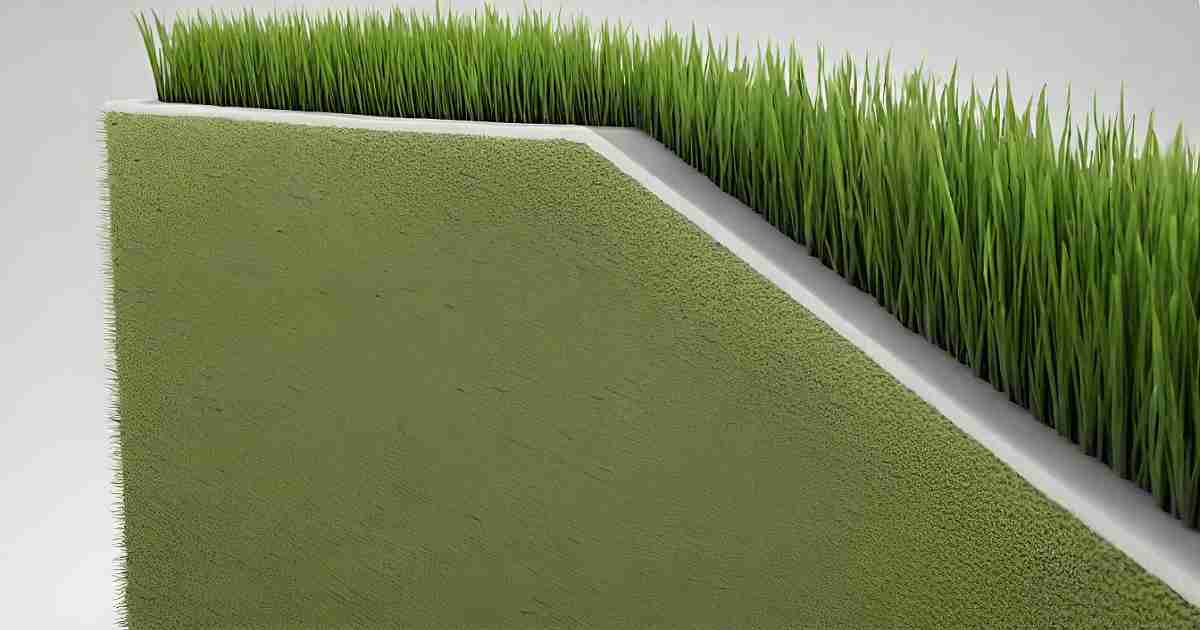
- Composition – Panels contain synthetic grass blades made of materials of varying quality, like polyethylene or polypropylene. Opt for soft, natural-looking blades with UV protection.
- Density/Thickness – Denser, thicker panels between 1⁄2 to 3⁄4 inches withstand traffic better. The pile density should exceed 2,000 fibers per square inch.
- Blade Length/Shape – Many have blade lengths between 1 to 1.5 inches for a realistic appearance. Choose a lively, irregular blade shape.
- Backing System – Sturdy backing allows panels to lie flat on the wall using adhesives. Needle-punch is suitable for indoor flat walls.
- Flame Retardancy – Panels should meet flammability standards like NFPA 701 to install safely indoors.
SuperLawn’s 13mm thick luxury wall grass is a top-rated choice for indoor installation. In comparison, their 20mm panel excels for high-traffic outdoor spaces against weathering.
Recommended Materials and Tools Needed
Gather these supplies before starting work:
- Artificial grass wall panels
- Industrial strength adhesive like Liquid Nails or silicone sealant
- Glue gun with adhesive sticks
- Seam tape
- Utility knife, circular saw or jigsaw
- Measuring tape, carpenter’s square, level
- Pencil, chalk
Optional: nails, screws, drill, stud finder, putty for repairs
Order 10-15% extra synthetic turf than needed to account for trimming allowance and mistakes. Take accurate room dimensions and shop for a reputed brand online offering custom wall panel sizes.
Step 1 – Preparing The Installation Surface Area
Inspecting and Repairing The Wall as Needed
The wall chosen to install faux grass panels should be structurally sound, smooth and made of a material that allows adhesives to bond properly, e.g., concrete, plywood, drywall etc. Avoid surfaces like wallpaper that adhesive won’t grip effectively.
First, inspect for any cracks, holes or leaks that need patching. Use an appropriate filler compound or caulk for minor repairs. Call a professional if significant issues exist impacting structural stability.
If adhesives were previously applied, scrape off thoroughly until only the original wall surface remains.
Cleaning and Leveling The Entire Mounting Surface
: Pressure wash outdoor wall surfaces and allow them to dry if they are full. For indoor paneling, vacuum the wall area and wipe it down with a damp cloth.
Use a drywall joint compound to skim coat and level any uneven spots for a perfectly smooth finish to which the grass backing can adhere.
Sand hardened the compound gently when dry before carefully cleaning it to remove all dust. This prep ensures panels lie flush, reducing gaps.
Step 2 – Mapping Out The Artificial Grass Wall Panel Layout
Stand back and visualize how you want the layout of the synthetic turfs oriented. Wall dimensions determine the number of full versus partial panels needed.
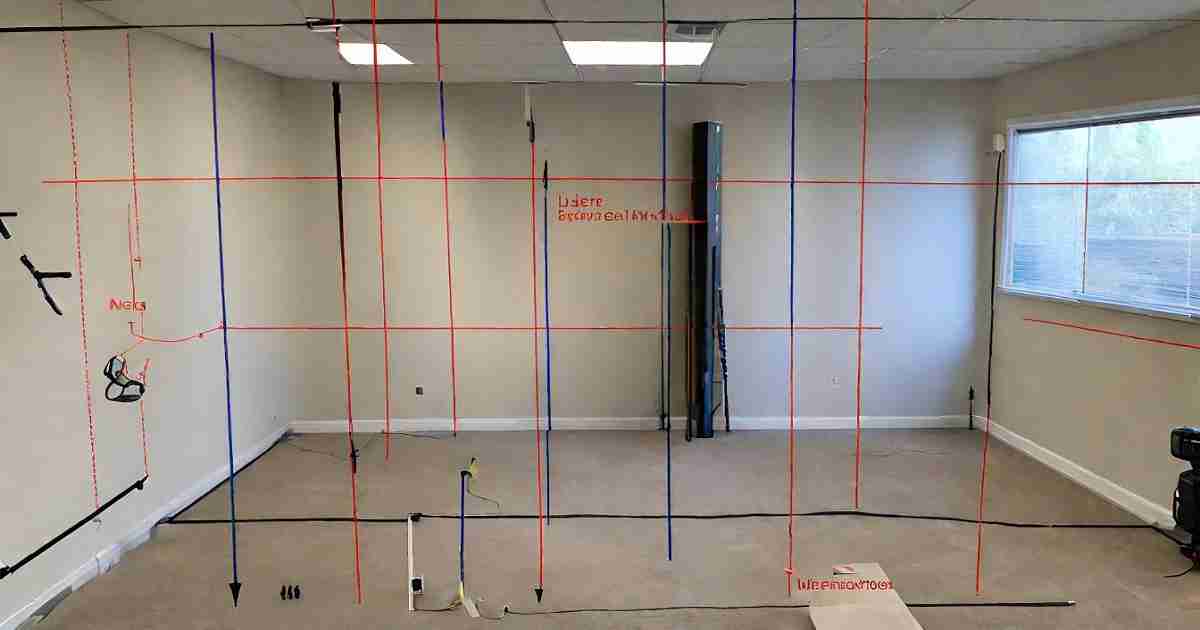
Mark chalk lines guiding:
- Boundaries for the entire grass wall dimensions
- Grid indicators help align panel placement
- Order of installation workflow
These references assist in keeping blade direction, seam alignments and edges uniform across the lawn wall. Outline sections methodically for how much adhesive you can handle once before drying.
Use pencil/masking tape markers, allowing adjustments. Chalk lines get covered once the affixing panels are.
Tips for Seamless Panel Layout Alignment
Avoid noticeable seams by:
- Mapping borders to hide edges along corners or masking with trim
- Ensuring panel pile direction flows in the same orientation
- Using offset, bricklike configuration for a natural look
- Having seams meet at panel junctions across the grid
Step 3 – Affixing Artificial Grass Wall Panels Onto the Surface
Work in manageable 3-4 feet sections for easier installation and sufficient adhesive working time before drying.

Test adhesives first in an inconspicuous spot to verify bonds securely with backing material.
Apply adhesive as evenly as possible using the manufacturer’s recommended method – trowel, foam gun etc. Only coat area panels will be covered to conserve adhesive amounts and prevent premature curing.
Create an “S” wave pattern across marked seams for liquid nail glue. Or use silicone caulk perimeter bordering panel edges secured by intermittent interior liquid nail “dabs.”
Have another person assist with large panels, keeping alignment steady against the guides as you affix firmly to the adhesive, smoothing any trapped air pockets. Be extremely careful removing adhesive residue immediately from visible grass.
Allowing Proper Time for Bonding Adhesives to Set
Review curing times, but often 24 hours, sufficient bonding strength develops before resuming work—temperature and humidity impact drying rates.
Exterior turf applications may require screws or nickel-brushed staples blending into grass backing for added weather-proofing security only. Use stabilizing seam tape plus weight panels down during the adhesive setting window.
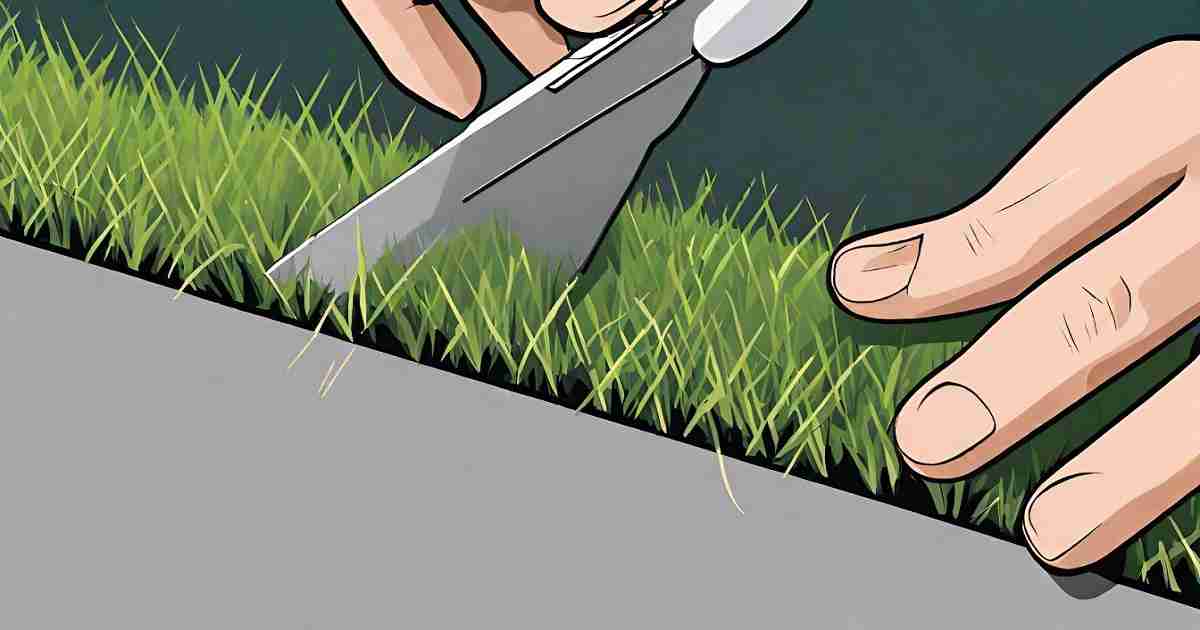
Step 4 – Trimming Excess Grass Material and Final Touches
Once the adhesive has fully cured, flip over panels to access the backing and carefully trim excess using a sharp utility knife against a metal straightedge. Throw a drop cloth down first to catch any debris.
For the cleanest edge finishes, you may remove panels to trim versus trimming in place. Realign and test fit appropriately before applying fresh bordering adhesive servings and reaffix to the wall.
Seal any minor gaps with silicone caulk matching turf color. Brush any uneven nap textures uniformly with a broom or seam iron.
Inspect final placement satisfaction, ensuring all fasteners lie covertly within blade areas before moving on to enjoyment!
Tips for Maintaining Realistic, Even Panel Appearances
Avoid obvious symmetrical patterns for believability using these illusion effects:
- Angle walls sightly prompt unique orientations
- Mix various panel greens and textures if possible
- Consider custom irregular edges versus unvarying straight seams
Subtly blend trims and transitions, install panels over one another, and integrate companion decor behind for layered depth when suitable.
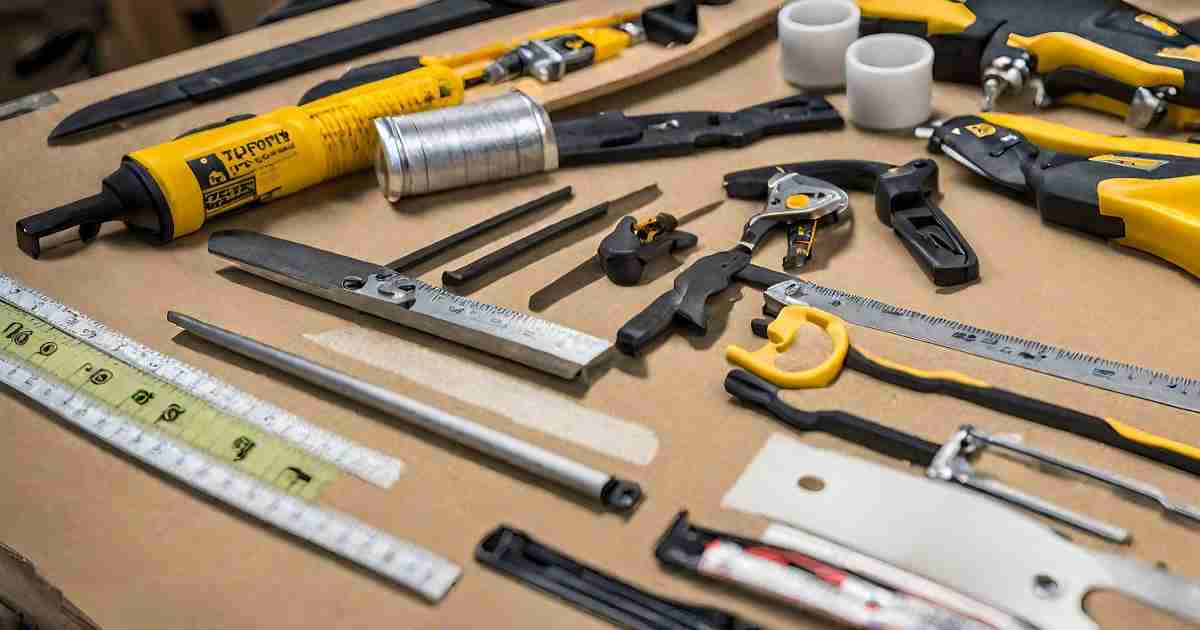
Helpful Tools & Equipment for Smooth Panel Installation
Having the right tools for each step of the process ensures greater precision and ease:
Measuring and Layout
- Laser measure – accurate room dimensions
- 4’ Level – verify flatness so panels mount flush
- Chalk line – temporary straight marking
- Stud finder – locate solid fastening points on framed walls
- Laser level beam – guide parallel mounting lines
Surface Preparation
- Pressure washer (~$150+) – clean outdoor walls
- Putty knives – seamless repairs
- Drywall sander – smoothing filler compound
- Shop vac (+HEPA filter bag) – fine dust removal
Cutting Panels
- Circular saw (~$100) w/ plywood blade – easiest straight cuts
- Jigsaw (~$130) – detail work like Electrical outlets
- Heavy-duty utility knife – trimming allowance
Installation
- Caulk gun – adhesive/sealant application
- 18 Gauge Brad nailer – temporary holding strength
- A rubber mallet – safely seat panels firmly
- Pipe seam iron – finishing uniformity
I am following the manufacturer’s safety procedures for operation. Invest in quality products that are taken care of to deliver years of reliability.
Helpful Installation and Design Tips
Strategic Seam Placement
Hide inevitable seams strategically:
- Where walls meet ceilings or floors
- Along inside wall corners
- Behind furnishings against panels
Consider creative touches like recessing customizable electronic screens behind camouflaged cutout areas to embed functional technology discreetly.
Cutting Panels and Patterns
Trim factory edges adopting layout marks for straight alignments or cut freehand curves with a jigsaw. Some techniques to try:
- Shape special message
- Frame focal points on the wall
- Soften defined room separations by flowing grass physically across boundaries for a harmonious connector
Shape the negative space between grass intentionally when planning the overall design.
Incorporate Coordinating Lighting and Decor
Wiring:
- Low voltage landscape lights at the base of the wall elegantly grazelit
- Up lights placed behind panels to emit ambiance glow
- Rope lights lining steps/pathways bring whimsy
Decor:
- Floral/botanical art and green accent pieces complement
- Water features, stone/wood textures
- Pet turf for animals to blend in
The layered dimensions instill greater psychological depth perception for ultra-realistic sensations that transport viewers delightfully.
Common Mistakes to Avoid When Installing Grass Wall Panels
By learning from these common pitfalls encountered on the job over the years, you can proactively dodge similar blunders derailing progress:

Inadequate Surface Prep
Dust debris, failure to level uneven areas, and lack of cleaning prevent proper adhesive bonding, which is critical for mounting stability over time against gravitational forces plus environmental exposure per the installation location. Do not shortcut adequate prep work.
Inaccurate Measurements Resulting in Ill-Fitting Panels Murphy’s law guarantees the one rare time you forego triple-checking dimensions or accounting for affirmative room variables like non-squareness fitment issues arise!
Then, limited materials result in gaps needing to be filled or more purchased, wasting initial ordering surplus and having to trim substantially. Precisely quantify existing conditions when ordering a surplus of 10-15%.
Applying Adhesive Unevenly
Inconsistencies like missed spots, thick/thin coats and partial “dabs” cause unexpected peeling, lifting or bubbles from inadequate adhesion across the entire panel backing.
Consistently apply approved adhesive types for base material at appropriate spreads following manufacturer specifications.
Not Allowing Adequate Bonding Time
Working too quickly by adhering to additional panels nearby before allotting proper tack and cure time compromises stability strength gained over the ensuing 24 hours.
Exercise patience, allowing 1-3 days to cure most adhesives required before adding stress like foot traffic, point loading, hanging objects on grass or exterior weather assaults. Prioritize durability.
Trimming and Finishing in a Hurry
Rushing shows in uneven, jagged edges, devaluing immense previous efforts and blending beautifully. The cutting craftsmanship distinction separates average outcomes from extraordinary showpieces.
Meticulously hand trim panels upside down or remove totally from the wall before slicing for perfect seams. Masterfully weigh precision versus speed.
Frequently Asked Questions About Installing Artificial Grass Wall Panels
Do outdoor grass wall panels stand up to weathering exposures?
- Quality synthetic materials resist color fading for several years, especially when installed properly, allowing rain drainage without pooling against structures. Limit direct high-noon sun exposure.
What height limitations exist when self-installing panels?
- Comfortably work at average heights under 12 feet. Beyond may require equipment like a lift or scaffolding rental to assist stability for overreaching measurements/handling bulky panels overhead.
Or hire professional turf installers used to navigate challenging locations safely.
What maintenance or repairs might grass wall panels need over time?
- Indoors require vacuuming and spot-cleaning stains. Outdoors, occasionally wash out dust buildup, rejuvenate with a clean rinse and retain a vibrant appearance for years. Refasten loosening panels.
- When degradation eventually occurs years later, replacing individual panels is simpler than removing entire old sheets before installing new ones to refresh completely.
What safety methods prevent grass wall panel contents from being flammable?
- Quality panels meet fire protection standards like NFPA 701, ensuring flame-retardant materials are safe for interior installations.
- The component chemicals contain relatively high flash point thresholds before burning can occur. Still, exercise smart precautions around open flames.
Is it less expensive to hire contractors versus DIY grass wall installation?
- Professional quotes account for high labor rates with large overheads, drastically reducing project costs. Savvy homeowners willing to perform their quality handiwork earn equivalent prevailing shop charges for efforts Trading sweat equity to pocket major consumer savings.
Conclusion
Installing artificial grass wall panels allows for crafting elegantly attractive living spaces brimming with welcoming vibrance that hostile bare walls lack.
Planning proper layout alignments using quality panels and methodically following fundamental steps transforms plain, drab rooms into jaw-dropping focal features sure to draw compliments.
The project journey imparts lasting pride and confidence to install grass walls anywhere imaginable, merging nature’s beauty sustainably with highly functional ease once reserved just for lush lawns traversed underfoot.
1 thought on “Discover the Beauty of Artificial Grass Wall Panels – Green Elegance”