Macrame wall hangings are having a major moment right now in home decor. With their natural textures and earthy vibes, these fiber art pieces embody the free-spirited bohemian style that’s sweeping both Pinterest boards and high-end design magazines.
As both a writer and crafter, I totally understand the appeal of macrame wall art. There’s just something so satisfying about creating something beautiful for your home with your own two hands.
The repetitive motion of knot-tying becomes almost therapeutic and meditative. Plus, it’s an affordable DIY project that allows you to fully customize your creation.
I’ll admit when I first started researching macrame wall hangings, I was a bit intimidated by all the intricate knots and patterns.
But once I took a deep breath and learned a few basic techniques, I discovered how fun and addicting macrame can be!
In this complete guide to macrame wall art, I’ll walk you through everything you need to know to make your own boho-chic fiber wall hangings at home, including:
- The supplies you need to start knotting
- Step-by-step instructions for easy beginner patterns
- Tips for styling and hanging your macrame masterpiece
So grab some natural fiber rope and let’s get knotting! This simple DIY project will have your walls looking whimsically boho in no time.
A Brief History of Macrame as a Fiber Art
Before we get knotting, let’s go over a quick history of macrame as an art form. Though it may feel trendy now, macrame actually has a long, rich history.
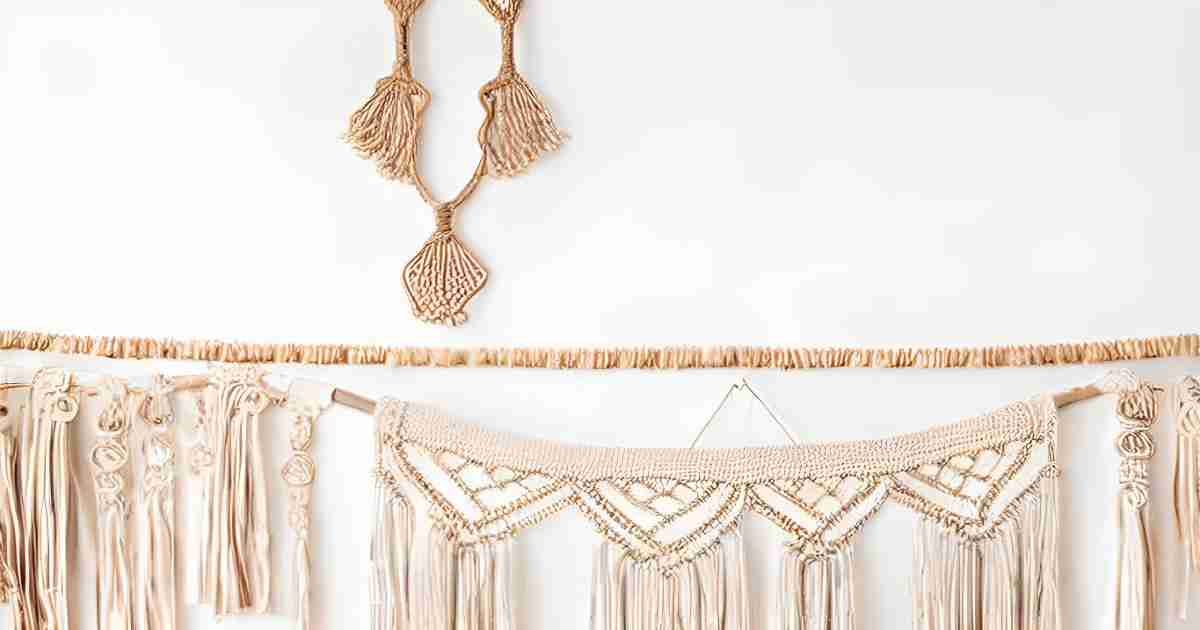
Traced back to 13th century Arabia, sailors and merchants would create macrame knots to decorate items or pass time on long sea voyages.
The word “macrame” is derived from the Arabic word “migramah,” meaning fringe or an embroidered veil. Silk and wool were commonly used. Elaborate decorative patterned knots were incorporated into veils, pouches, belts and more.
Macrame’s popularity flourished during the 19th century Victorian era, when intricate home crafts were prized. Complex multi-colored floral patterns adorned everything from table runners to bags.
In the 1960s and 70s, macrame had another revival moment with the bohemian hippie culture. Wall hangings, plant holders and jewelry with macrame knots embodied the laidback, artistic vibe of the era.
Now in the 2023s, macrame is back in a big way. With its natural look and texture, macrame perfectly fits with boho, earthy, modern farmhouse and eclectic home decor styles currently popular on Instagram and Pinterest. A handmade macrame wall hanging adds artisanal flair to any space.
Why Macrame Art Makes the Perfect Boho-Chic Wall Decor
There are so many reasons to love macrame wall hangings for bohemian home decor:
Handmade and Customizable Art: With macrame, you can truly make one-of-a-kind art pieces for your home. Choose your own color palettes, patterns, textures and embellishments. The options are endless.
Affordable: Macrame rope and supplies are relatively inexpensive, especially compared to buying art pre-made. Even beginners can make something beautiful on a budget.
Relaxing Hobby: The repetitive motion of knot-tying is meditative and calming. Making macrame can relax you after a long day.
Textured, Natural Look: Macrame has an organic, textured look and feel that complements the breezy boho style beautifully. The knots and woven textures add eye-catching visual interest to walls.
Beginner-Friendly: You don’t have to be a knot-tying expert to make chic macrame art. With simple techniques like square knots, even total beginners can create impressive fiber wall hangings.
Endlessly Customizable: Play around with different rope patterns, shapes, sizes, embellishments and hanging styles. Macrame is the perfect DIY for creatives.
With its artisanal look and endless customizability, it’s easy to see why macrame and bohemian style go hand-in-hand. Let’s talk supplies!
Supplies You’ll Need to Make Stunning Macrame Wall Art
The great thing about macrame is you don’t need any fancy supplies to get started. Here’s what I recommend having on hand:
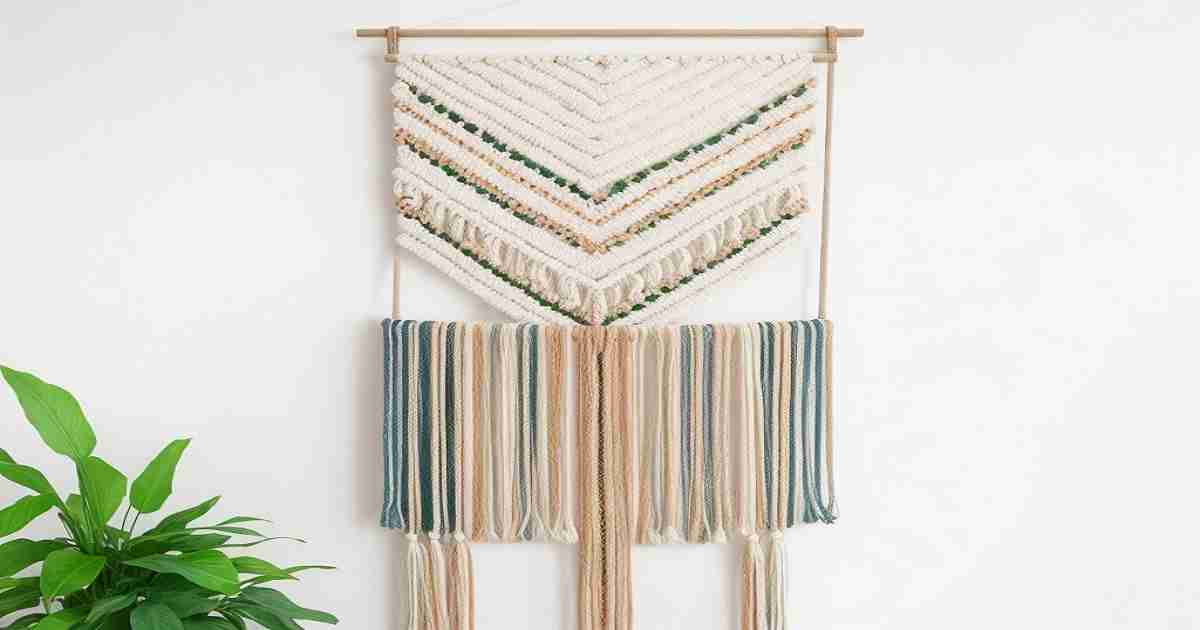
Macrame Cord/Rope
The rope is arguably the most important supply for macrame wall art. Look for natural fiber ropes over synthetic options. Common types include:
- Cotton rope: Soft and easy on hands, cotton is great for beginners. Opt for 3-4mm diameter ropes.
- Jute rope: One of the most popular choices for its durability and natural look. 4-6mm diameter is ideal.
- Hemp rope: Softens beautifully over time. Look for 5mm to 8mm diameters.
- Bamboo rope: Gorgeous drape. Use 3mm to 5mm diameters.
For most wall hangings, you’ll want ropes ranging from 1/4″ to 1/2″ in diameter. The length depends on the size of your project. For mid-sized hangings, 12 to 20 feet is a good amount to start.
Tapestry Needles
Also called blunt needles, these large eye needles make threading rope through your macrame knots easy. Metal or plastic tapestry needles will both do the job.
Sharp Scissors
Look for scissors specifically made for rope, yarn and fibers, which will have super sharp blades. This ensures clean, easy cuts through your macrame cord. Don’t use dull kitchen scissors!
Beads, Feathers, Tassels (Optional)
For a playful boho vibe, embellish your macrame wall hanging with accents like beads, sea shells, feathers, tassels, pom poms or wooden beads. Get creative and add texture!
Dowel or Hanging Rod
To finish and hang your wall art nicely, you’ll want a dowel rod or hanging rod. Cut to the width of your project and wrap macrame rope around it for clean edges.
Ceiling Hooks or Command Strips
Use heavy duty ceiling hooks and nails if hanging your macrame art from plaster or drywall. For apartments and temporary installs, Command’s damage-free picture hanging strips work great.
With these simple supplies, you’re ready to start knotting! Let’s go over some key macrame techniques for beginners.
Step-by-Step Macrame Knotting for Beginners
If you’re new to the wonderful world of macrame, don’t worry! With just two basic knots in your toolkit, you can create beautiful wall hangings. Here’s a step-by-step guide to the two essential beginner macrame knots: the square knot and the half hitch knot.
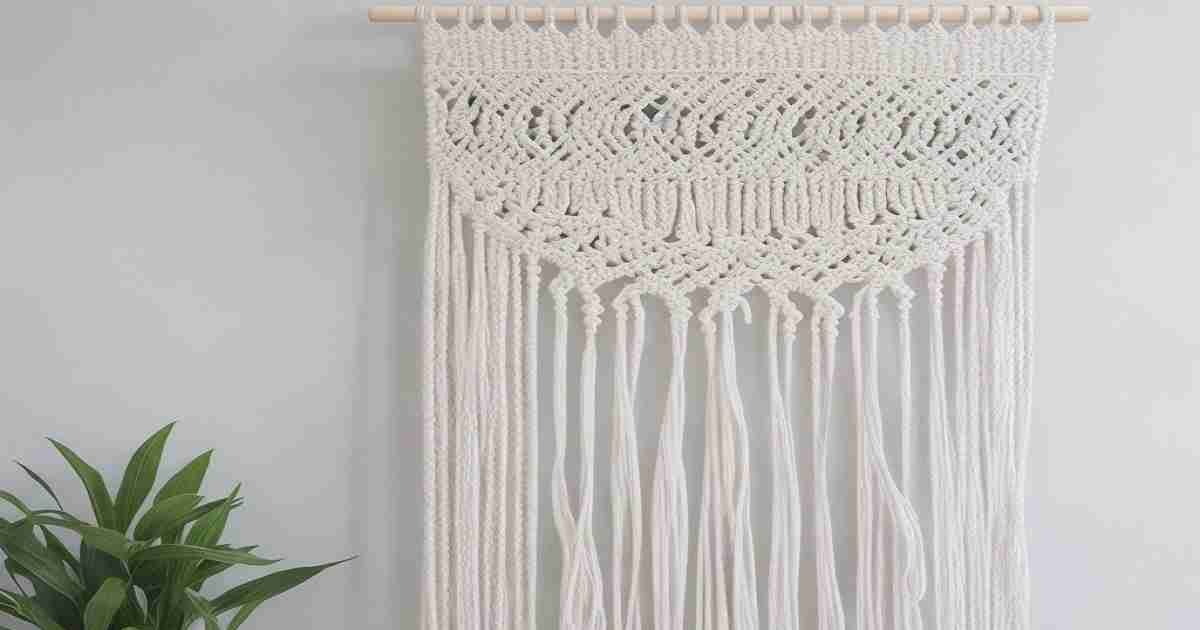
The Square Knot
The square knot is the most basic knot for macrame and used in nearly every pattern. It creates the signature woven look.
Step 1: Take 2 cords and place them together, folding in half to align the ends.
Step 2: Take the outer right cord and place it over the inner left cord to create a loop.
Step 3: Thread the outer left cord up through the loop and firmly tighten by pulling both ends.
Step 4: Repeat steps 2 and 3 until you’ve created the desired length of square knots.
It can help to think “right over left, left over right” as you’re knotting. Keep the cords flat and snug as you tighten for even squares.
The Half Hitch Knot
Half hitch knots allow you to easily attach cords vertically. They create columns in macrame patterns.
Step 1: Fold your working cord in half to find the center point. Place at desired spot on the main vertical cord.
Step 2: Create a loop with the right side of the working cord behind the main cord. Bring it to the front.
Step 3: Thread the left side of the working cord through the loop and tighten.
Step 4: Repeat on same main cord to create another half hitch knot below the first.
Vary the spacing between your half hitch knots to create different patterns and shapes. Get creative!
Once you’ve mastered the square and half hitch knot, you can make a huge variety of macrame patterns for wall hangings. Let’s look at some easy beginner-friendly designs.
5 Easy Macrame Patterns for Beginner Wall Hangings
Here are some gorgeous yet totally achievable macrame patterns even for total beginners:
1. Simple Striped Macrame Wall Hanging
This basic striped pattern only uses square knots. Alternate the direction of your knots to create stripes. Color block with different rope colors for an extra pop.
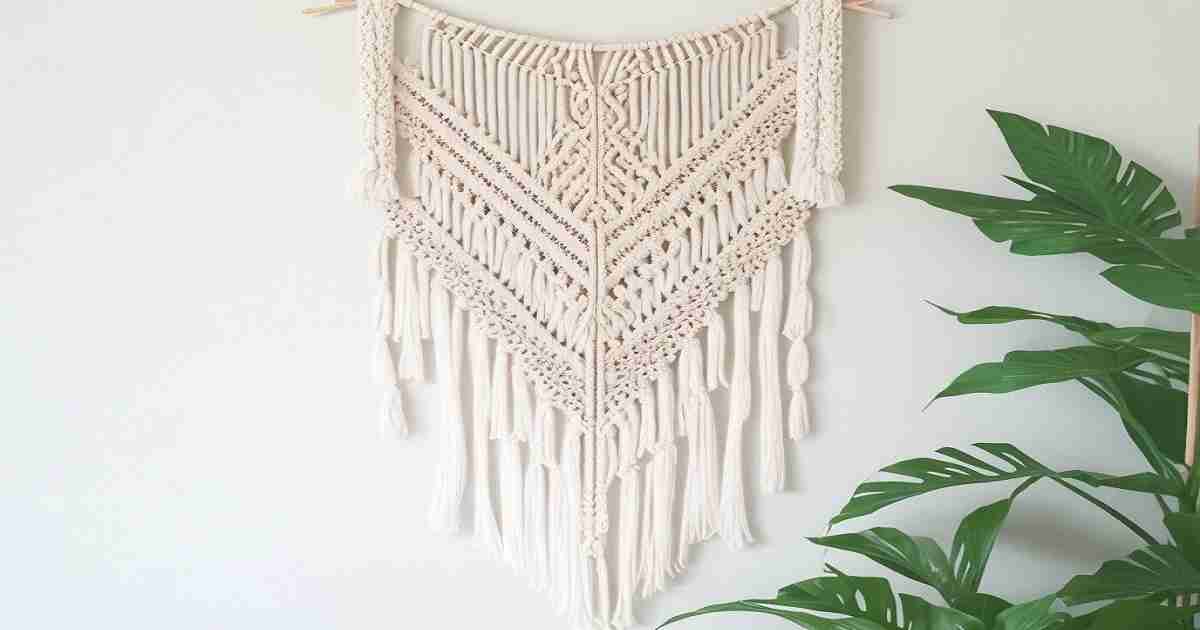
2. Diagonal Macrame Wall Hanging
Add visual interest by knotting diagonal stripes at sharp angles. Rotate your working cords 90 degrees between bands of square knots.
3. Zig Zag Macrame Wall Hanging
For this pattern, knot rectangular shapes on alternating sides to achieve a fun zig zag effect. Keep perfect tension for clean lines.
4. Wavy Macrame Wall Hanging
The wavy pattern utilizes half hitch knots between bands of square knots to create fluid, organic shapes. Relaxing and meditative!
5. Ladder Stitch Macrame Wall Hanging
This geometric ladder pattern combines square knots with vertical half hitches. Simple to create but looks impressively intricate.
With endless combinations of square knots and half hitch knots, you can create so many one-of-a-kind macrame wall art designs!
Now that you’ve chosen a pattern, let’s go over how to finish and hang your boho masterpiece.
Finishing Techniques for Flawless Macrame Wall Art
You’ve reached the home stretch! Follow these steps for a clean, professional-looking finished macrame wall hanging:
Wrap edges: When your piece reaches the desired size, neatly wrap leftover rope around the top dowel or hanging rod to hide any frayed edges. Secure ends with glue or knots on back side.
Add top hanging loop: Tie a piece of rope or cording at the top of the dowel in a loop to create a place to hang your art from a nail or hook.
Tassels and embellishments: For a fun boho vibe, tie on tassels, beads or pompoms along bottom and side edges for dramatic flair. Get creative!
Trim threads: Use sharp scissors to carefully trim any excess threads along the edges or backside. This keeps it looking tidy.
Take your time with finishing for clean, professional results ready for the wall! For longevity, keep your macrame art out of direct sunlight which can fade fibers over time.
Designer Tips for Hanging and Styling Macrame Wall Art
The right placement can make or break your beautiful new macrame piece. Use these designer tips for an artfully hung, boho-styled wall hanging:
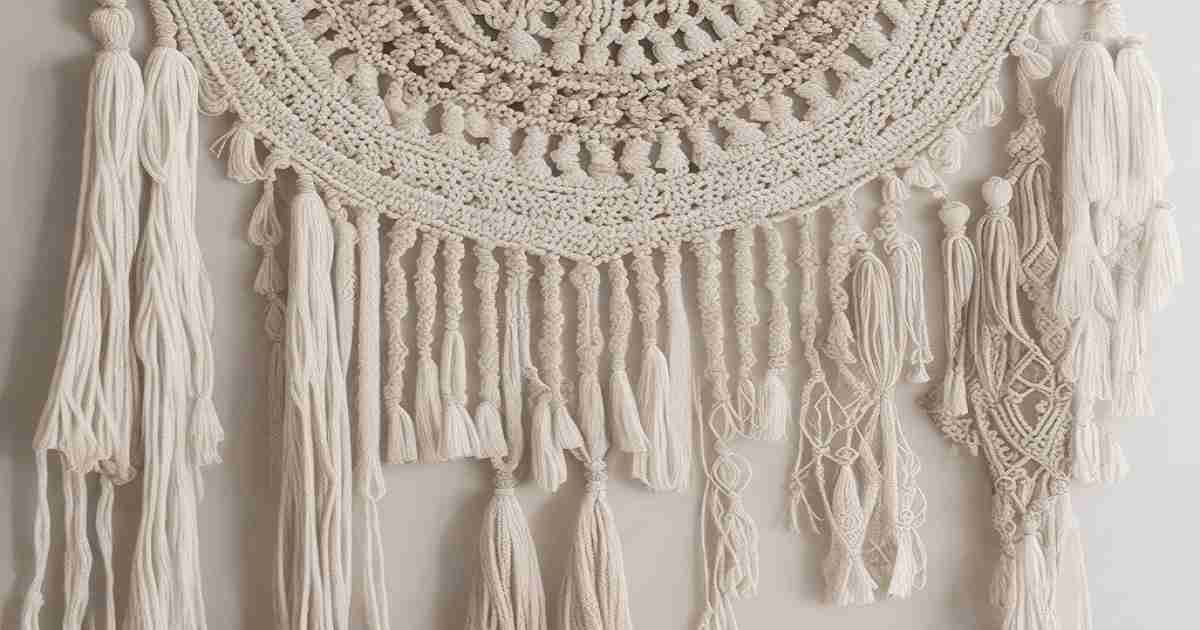
Group multiple hangings: For high visual impact, hang several macrame pieces together in an asymmetrical cluster. Vary sizes and shapes for dimension.
Incorporate natural elements: Play up the organic vibe with dried botanicals, rattan baskets, and wood shelves alongside your macrame art.
Layer in tapestries or prints: Combine colorful tapestries, printed pillows, or fabric backdrops behind your neutral macrame to complement each other.
Float off a bookcase or shelf: Let your wall hanging extend a few inches below a shelf or mantel for a floating, layered effect. Stunning!
Make it the focal point: Leave negative space around your macrame piece so it takes center stage. Keep walls and surrounding decor minimal.
Hang above bed: Macrame works beautifully hung above a bed, especially if you have a bohemian headboard. Awaken to beautiful textures!
Whether you jazz it up with pompoms or keep it sleek and simple, macrame makes a major style statement in any boho-inspired space.
Finding Macrame Wall Art Inspiration on Social Media
Whenever I need a burst of macrame inspiration, I head straight to Instagram and Pinterest to scope the latest trends. Here are a few of my favorite boho macrame artists to follow:
1. @windingwillowstudio
California-based artist Winding Willow Studio creates dreamy custom macrame in muted earthy tones. Their wall hangings feel both modern and timeless.
2. @kimberlydurhamdesigns
Kimberly Durham’s macrame art incorporates unexpected pops of neon, metallics and fringe accents for bohemian works that really pop.
3. @bohobirdie
UK-based Bohobirdie plays with bold shapes and graphic patterns for macrame that packs a visual punch. Unique and eye-catching!
4. @thebohowall
This Instagram account curates dreamy bohemian interior inspiration, including lots of swoon-worthy macrame art for the walls.
5. @hippiehousewy
At Hippie House, large-scale macrame wall hangings in natural hues are the star of the show. Boho interiors done right.
Beyond Instagram, Etsy and Pinterest offer endless macrame wall hanging ideas when you’re searching for inspiration. Now that you’re fired up to make your own, let’s chat about the one thing that takes macrame art from regular to extraordinary: technique.
Level Up Your Skills with These 5 Macrame Technique Tips
As you progress in your macrame making journey, focus on refining these techniques for next level wall art:
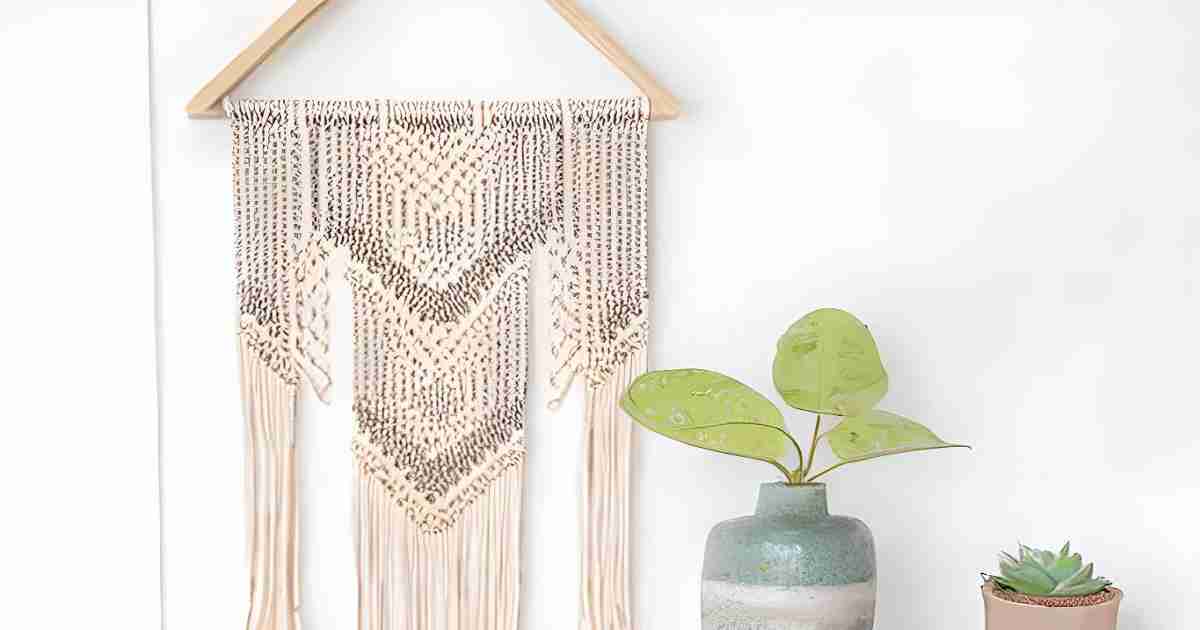
Maintain even tension: Keeping consistent, even tension as you knot results in tidy, uniform patterns. Don’t pull too tight!
Alternate rope direction: When adding new rope lengths, reverse direction so the texture faces opposite ways. This makes patterns pop.
Pair thick and thin ropes: Combining ropes of different widths creates interesting dimensions and textural contrast.
Hide knots and tails: Keep the back neat by gluing down knot tails and stray threads so they don’t show through the front.
Explore new knots: Move beyond the basics into more intricate knots like larks head knots, spiral knots and braided knots to expand your skills.
The more you practice, the more your macrame improves! For lots of helpful technique tutorials and pattern formulas, I highly recommend the book The Ultimate Macrame Book by Dorothy Wood. It takes you from total beginner to macrame pro.
Now that you’re a macrame master, it’s time to hang your boho wall art and admire your handiwork!
Displaying Macrame Wall Hangings with Pride
When I step back and look at a completed macrame piece I crafted myself, I can’t help but beam with pride. Taking raw materials and creating something beautiful with your own hands is so fulfilling.
I hope this beginner’s guide to macrame wall art sparks your creativity to make something unique for your space.
The world of macrame is endlessly inspiring. Let it transport you to wanderlust places, invoke your spirit of adventure, or simply Zone out after a long day. With each knot, you strengthen your skills and style your home.
So gather ’round those good vibes and happy braiding, makers! I’d love to see photos of your macrame journeys and any other crafting pursuits that spark joy. Let’s get chatting! What drew you to macrame as a hobby? Do you have any techniques or tricks to share with newbies like me? I’m all ears.
1 thought on “When Is The Best Time To Use Baho Macrame Wall Art 2023?”